Send HTML form submissions to Google Sheets

In this tutorial, we'll walk through the process of creating an HTML form and sending its submissions to a Google Sheet using Apico APIs. This approach simplifies the process of connecting your web forms to Google Sheets without the need for complex backend systems or direct Google API integration.
Prerequisites
- A Google account
- An Apico account
- Basic knowledge of HTML and JavaScript
- A web server to host your HTML form (or you can use a local development server)
Step 1: Prepare your Google Sheet
-
Create a new Google Sheet or use an existing one.
-
Ensure the first row contains headers for your form fields. For example:
- Name
- Message
- Timestamp
-
Note down the spreadsheet ID from the URL. It's the long string of characters after
/d/in the URL.
Step 2: Set up Apico API for Google Sheets
- Log in to your Apico account.
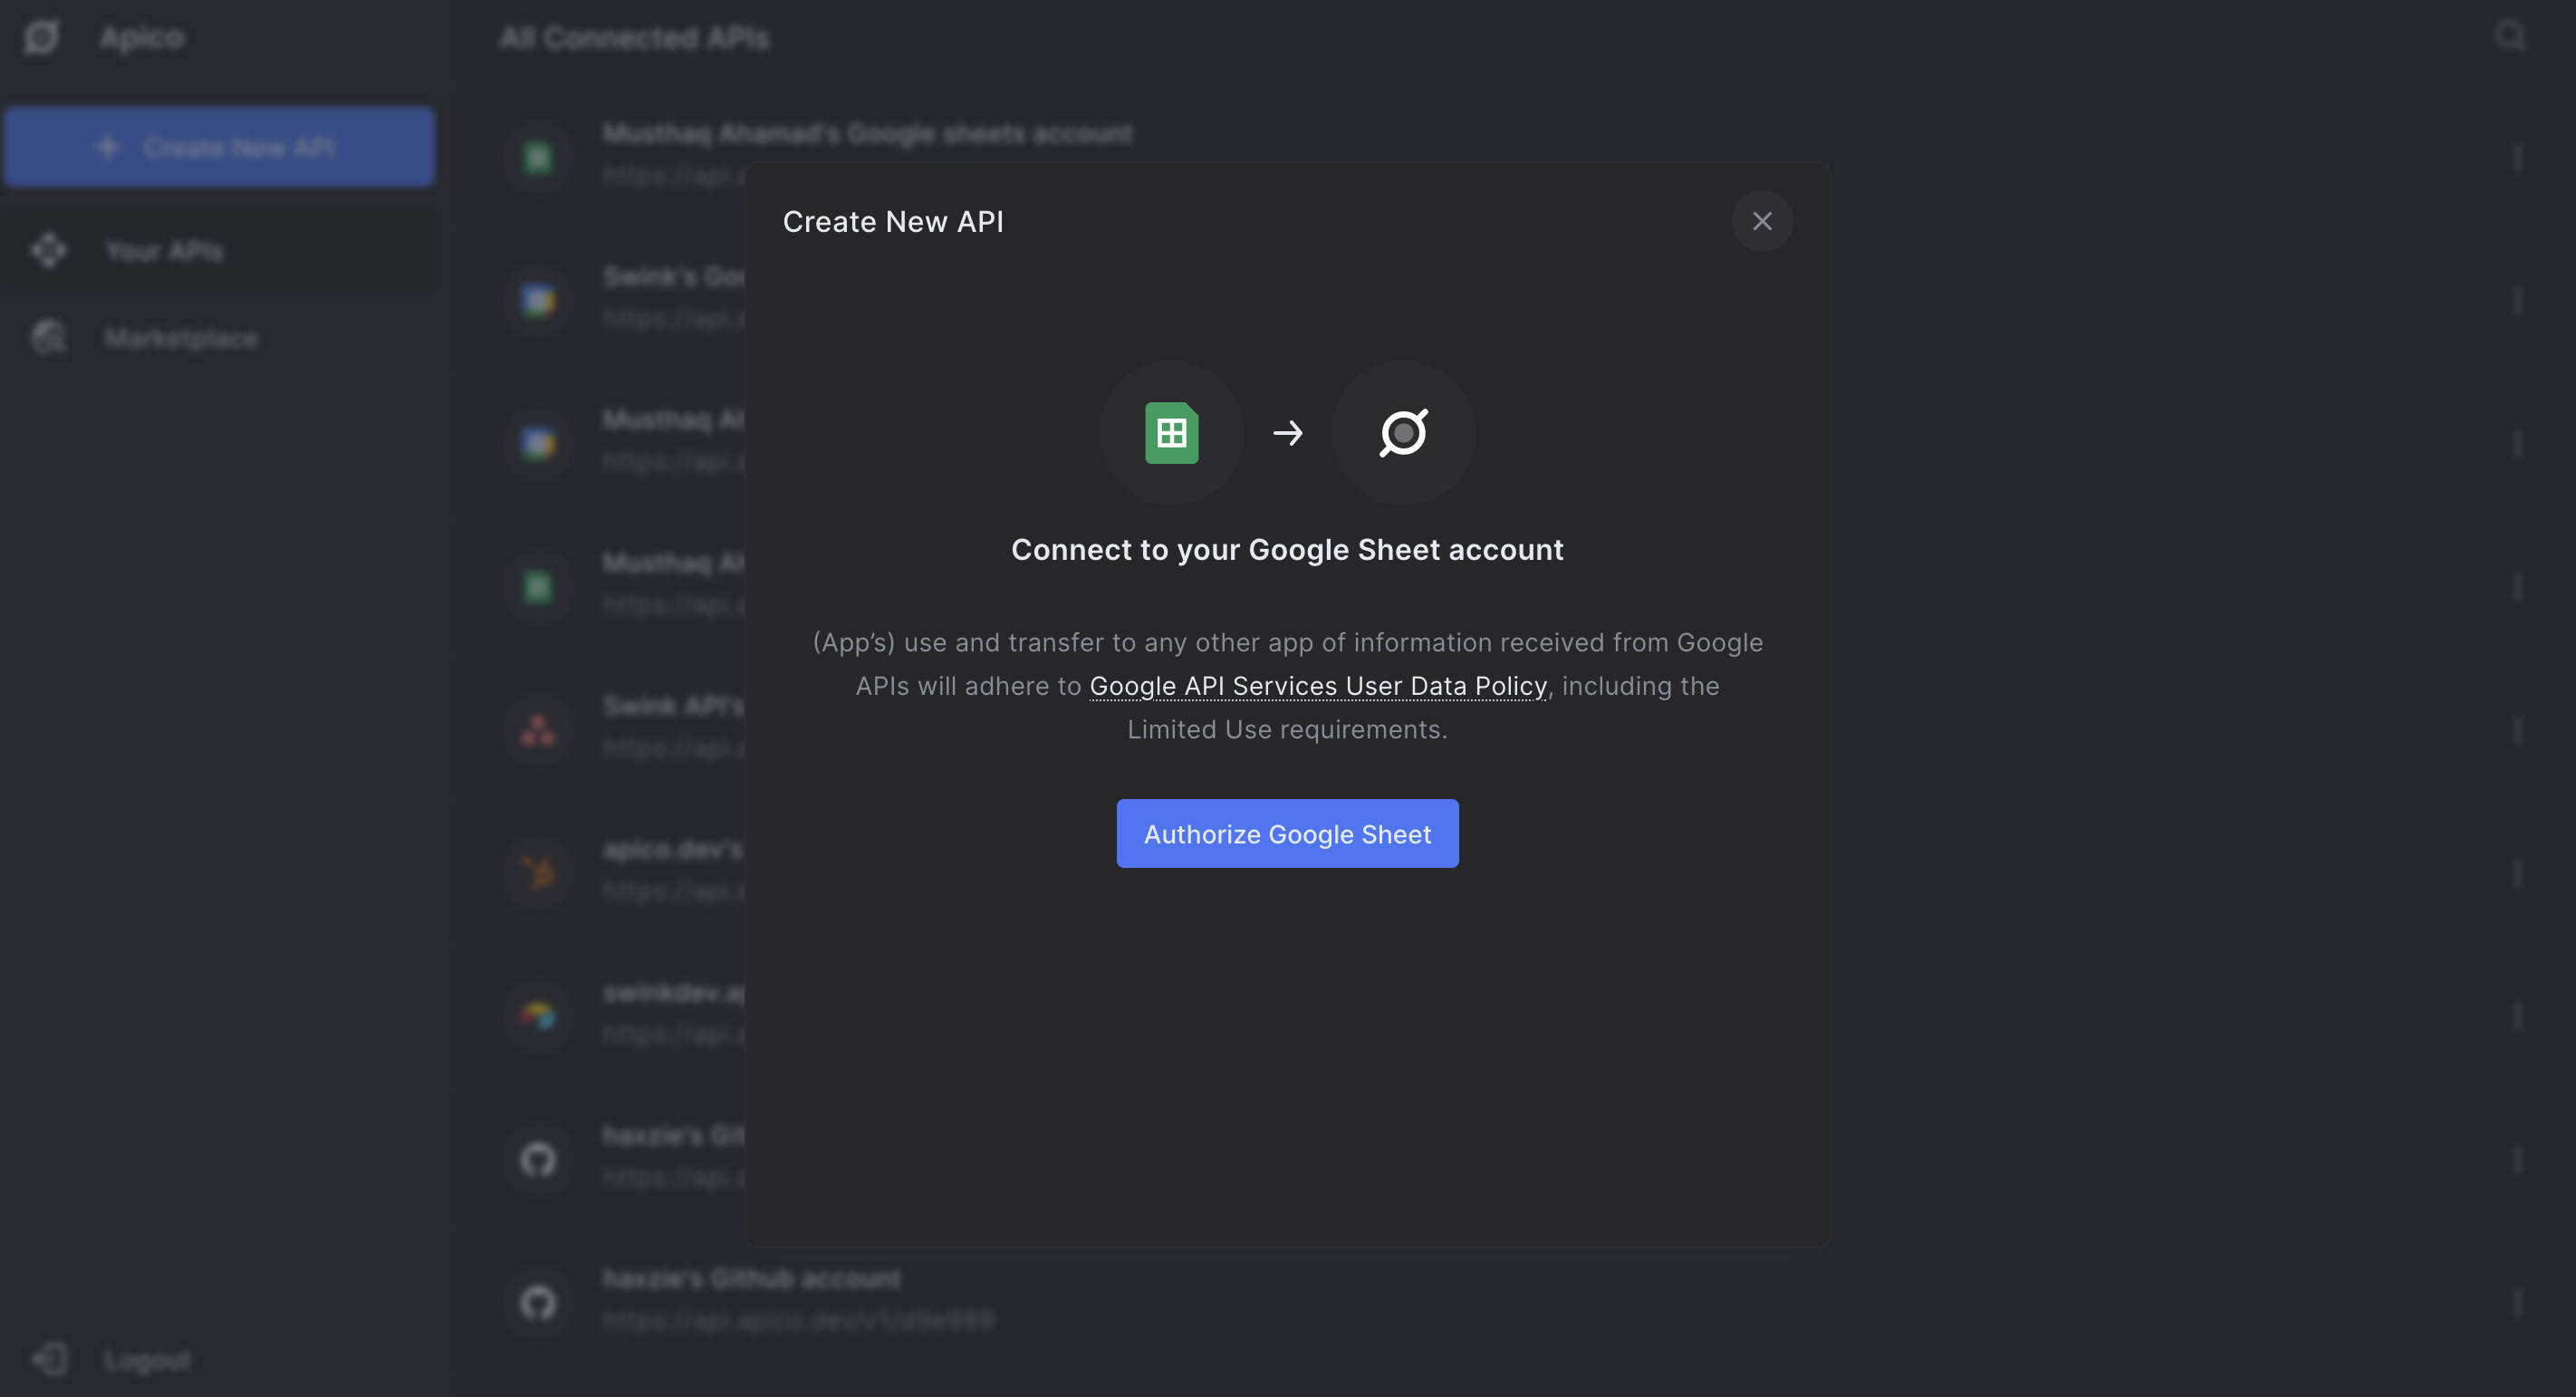
- Click on "Create new API" and select Google Sheets.
- Click on Authorize and select the Google account that has access to your sheet.
- Once authorized, you'll see Apico's API explorer screen.
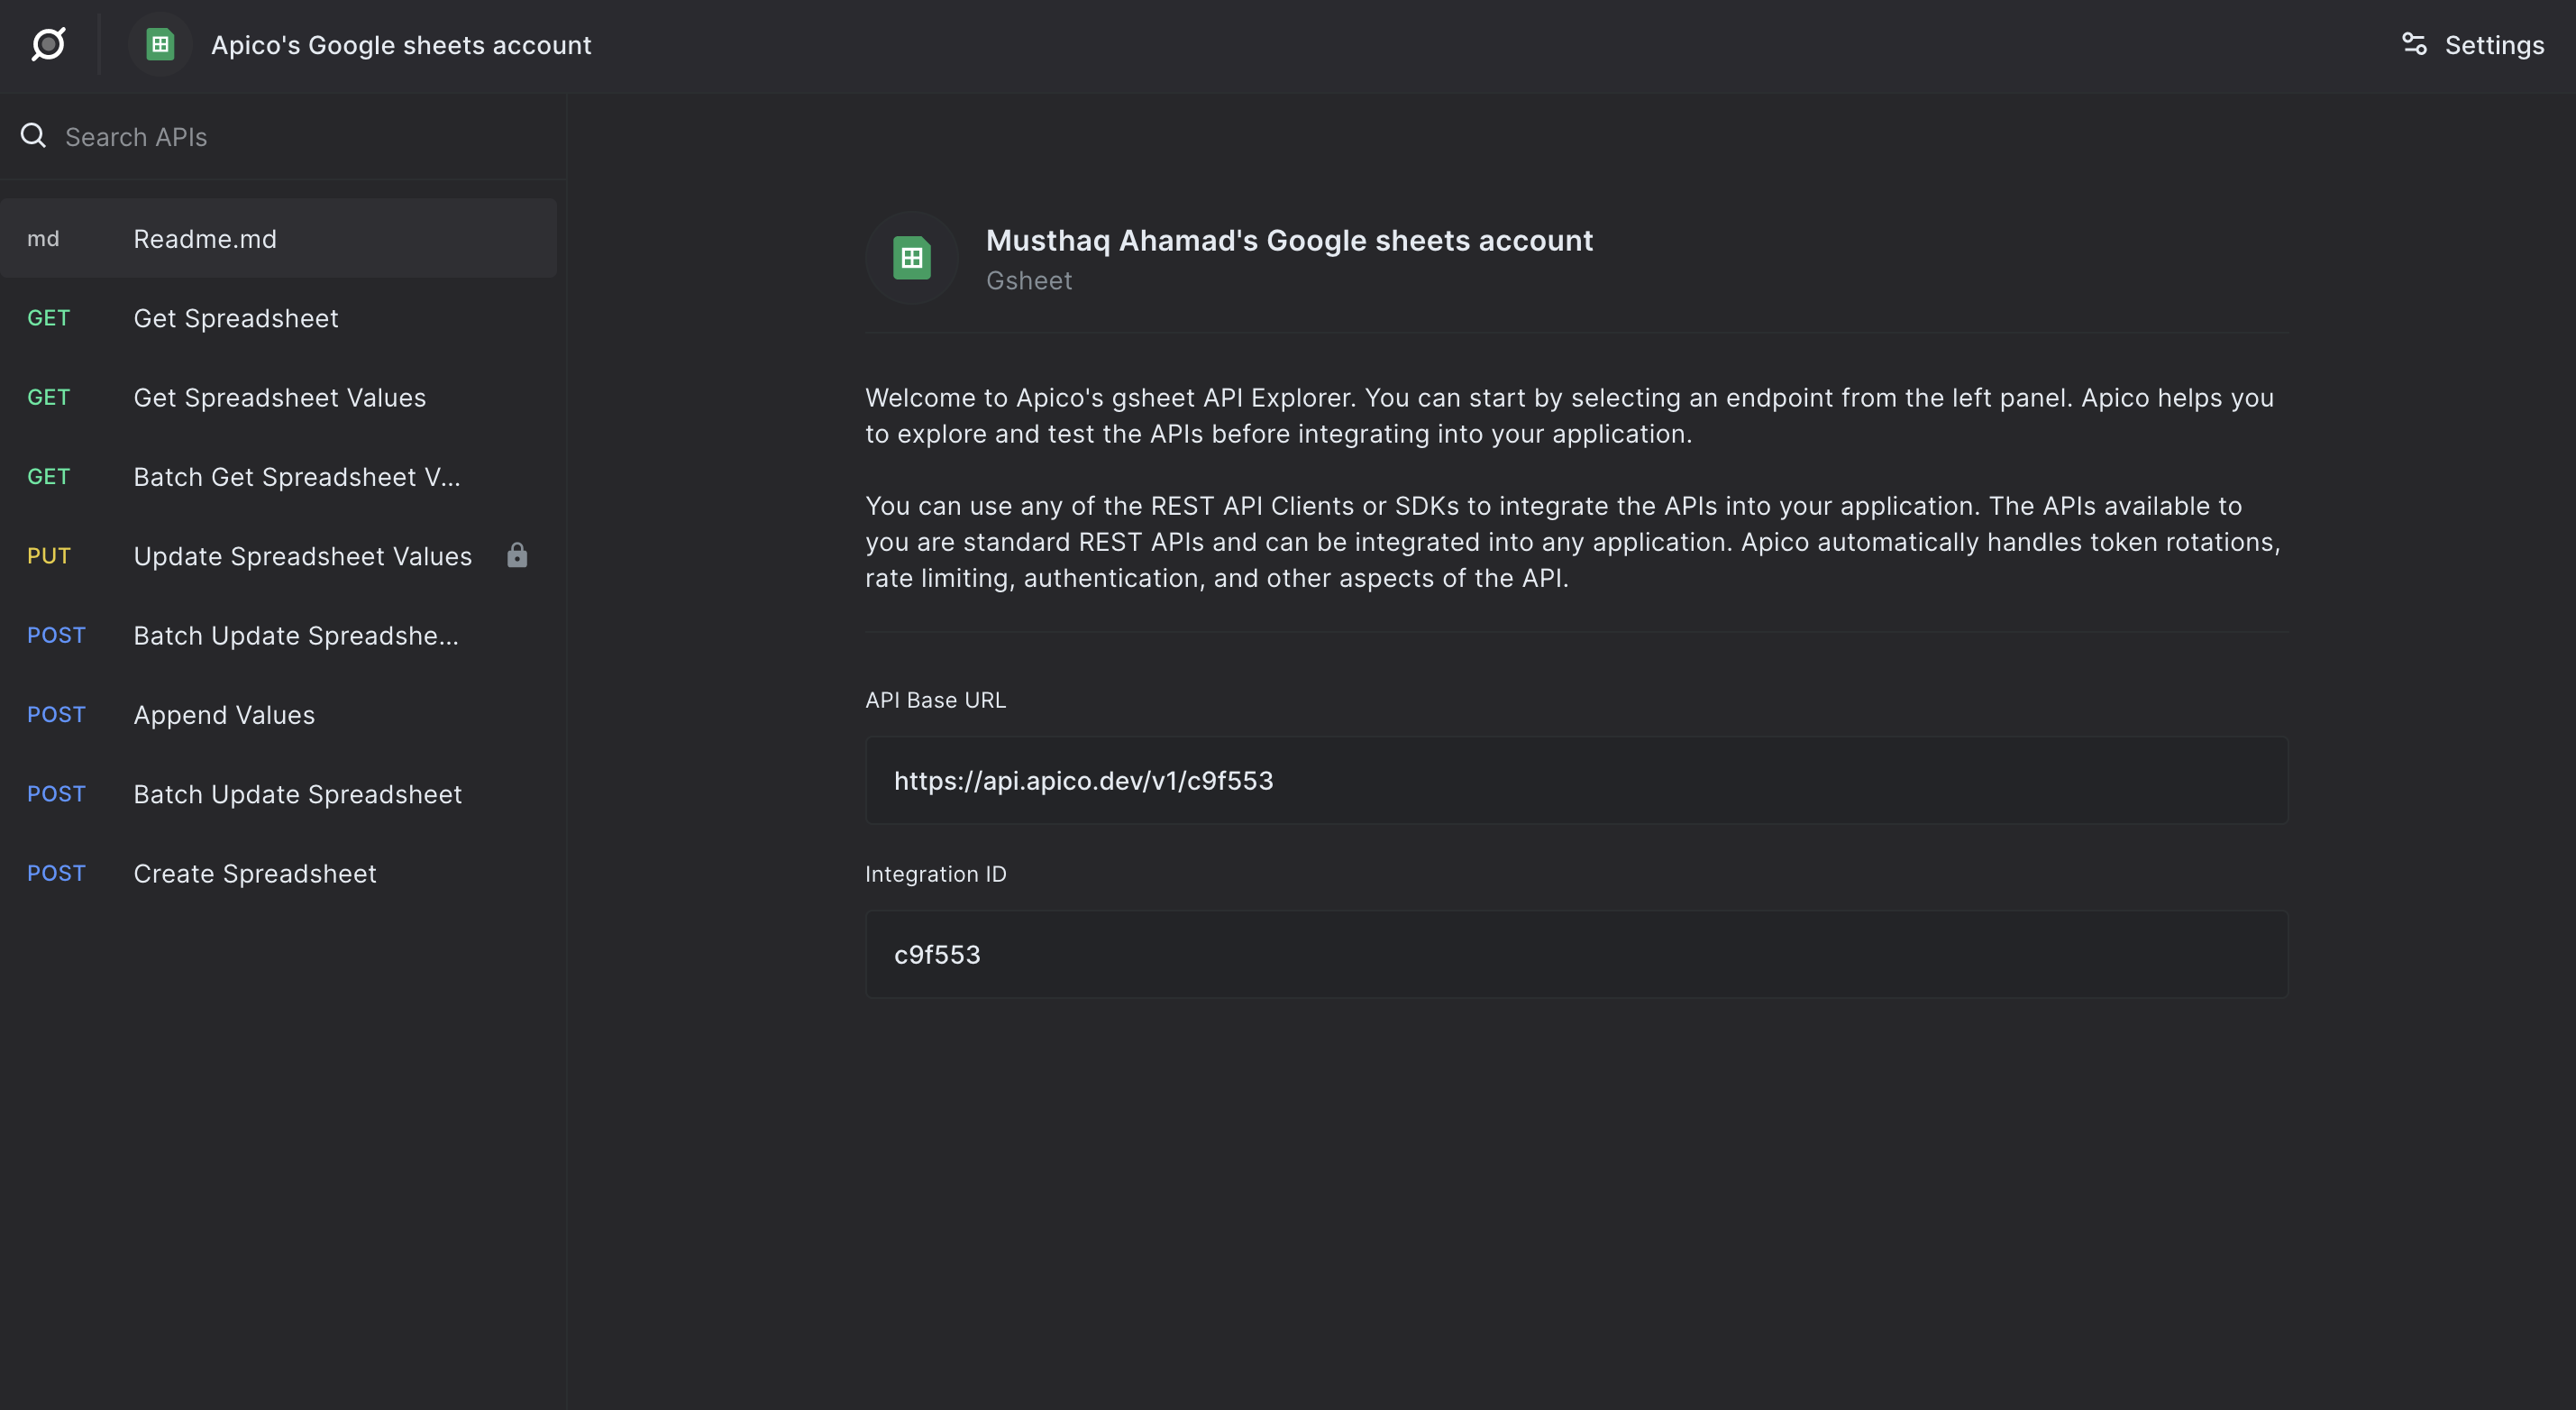
Step 3: Get Spreadsheet Details
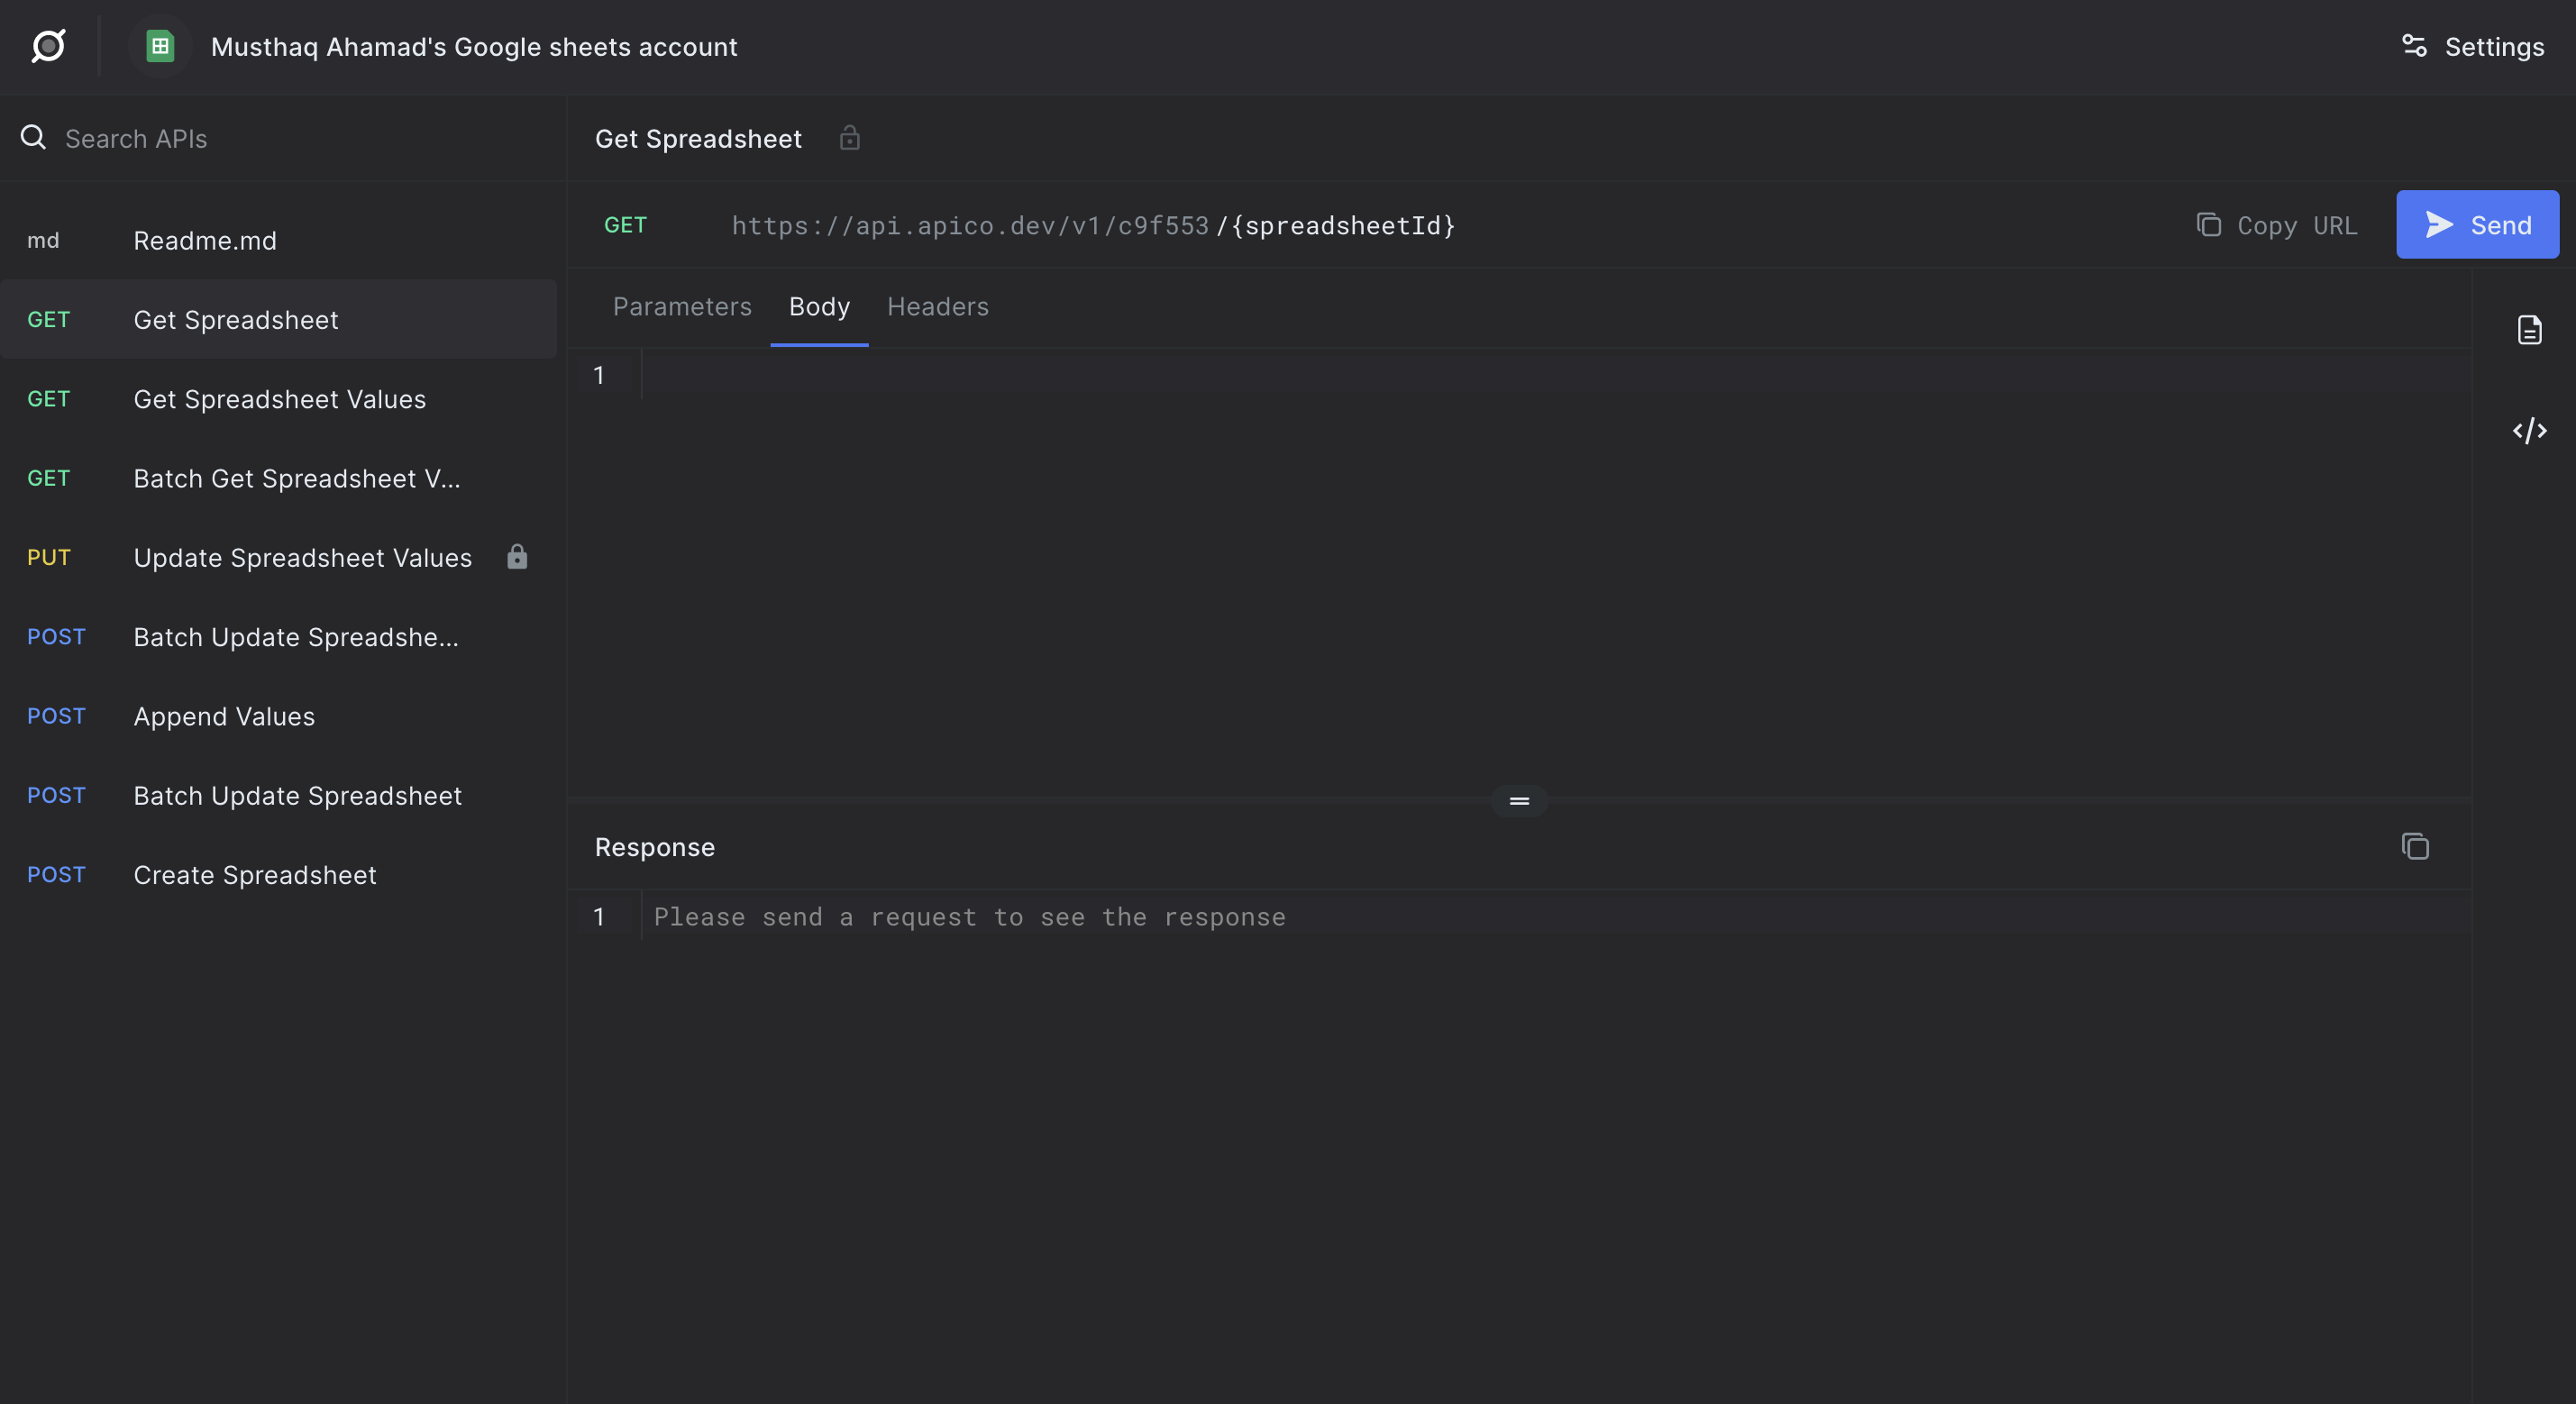
- In the API explorer, click on "Get Spreadsheet".
- Replace
{spreadsheetId}in the URL with your actual spreadsheet ID. - Click "Send" to test the API. You should receive details about your spreadsheet.
- Note down the
titleof the sheet you want to use (e.g., "Sheet1").
Step 4: Create your HTML form
Create an HTML file with a form that matches the columns in your Google Sheet. Here's an example:
<!DOCTYPE html>
<html lang="en">
<head>
    <meta charset="UTF-8">
    <meta name="viewport" content="width=device-width, initial-scale=1.0">
    <title>Contact Form</title>
</head>
<body>
    <form id="myForm">
        <label for="Name">Name:</label>
        <input type="text" id="Name" name="Name" required><br><br>

        <label for="Email">Email:</label>
        <input type="email" id="Email" name="Email" required><br><br>

        <label for="Message">Message:</label>
        <textarea id="Message" name="Message" required></textarea><br><br>

        <button type="submit">Submit</button>
    </form>

    <script src="https://cdn.jsdelivr.net/npm/axios/dist/axios.min.js"></script>
    <script>
        const form = document.getElementById('myForm');
        const apicoEndpoint = 'YOUR_APICO_ENDPOINT_HERE';
        const spreadsheetId = 'YOUR_SPREADSHEET_ID_HERE';
        const sheetName = 'YOUR_SHEET_NAME_HERE';

        form.addEventListener('submit', async (e) => {
            e.preventDefault();
            const formData = new FormData(form);
            const values = [Array.from(formData.values())];

            try {
                const response = await axios.post(`${apicoEndpoint}/${spreadsheetId}/values/${sheetName}:append`, {
                    values: values
                }, {
                    headers: {
                        'Content-Type': 'application/json',
                        'Authorization': 'Bearer YOUR_APICO_API_KEY_HERE'
                    }
                });
                alert("Thank you! Your form is submitted successfully.");
                form.reset();
            } catch (error) {
                console.error('Error!', error);
                alert("An error occurred. Please try again.");
            }
        });
    </script>
</body>
</html>
Replace the following placeholders:
YOUR_APICO_ENDPOINT_HERE: Your Apico API endpoint (e.g.,https://api.apico.dev/v1/your_api_id)YOUR_SPREADSHEET_ID_HERE: Your Google Sheet IDYOUR_SHEET_NAME_HERE: The name of your sheet (e.g., "Sheet1")YOUR_APICO_API_KEY_HERE: Your Apico API key
Step 5: Test your form
- Host your HTML file on a web server or run it on a local development server.
- Open the HTML page in a web browser.
- Fill out the form and submit it.
- Check your Google Sheet to see if the data has been added.
Troubleshooting
- If you're not seeing submissions in your Google Sheet, check the browser console for any error messages.
- Ensure that your form field names exactly match the column headers in your Google Sheet.
- Verify that your Apico API key and endpoint are correct.
- If you're testing locally, you might encounter CORS issues. In this case, you may need to add CORS headers to your Apico API settings or test on a hosted server.
Conclusion
You've now successfully set up a system to send HTML form submissions to a Google Sheet using Apico APIs. This method simplifies the process by eliminating the need for direct Google API integration or complex backend systems.
Apico provides a user-friendly interface for managing your API connections, making it easier to set up and maintain your form-to-sheet pipeline. This approach is great for various use cases such as contact forms, surveys, or registration forms.
Remember to handle user data responsibly and in compliance with relevant data protection regulations. For more advanced needs or to integrate with other services, explore the other APIs available through Apico.